
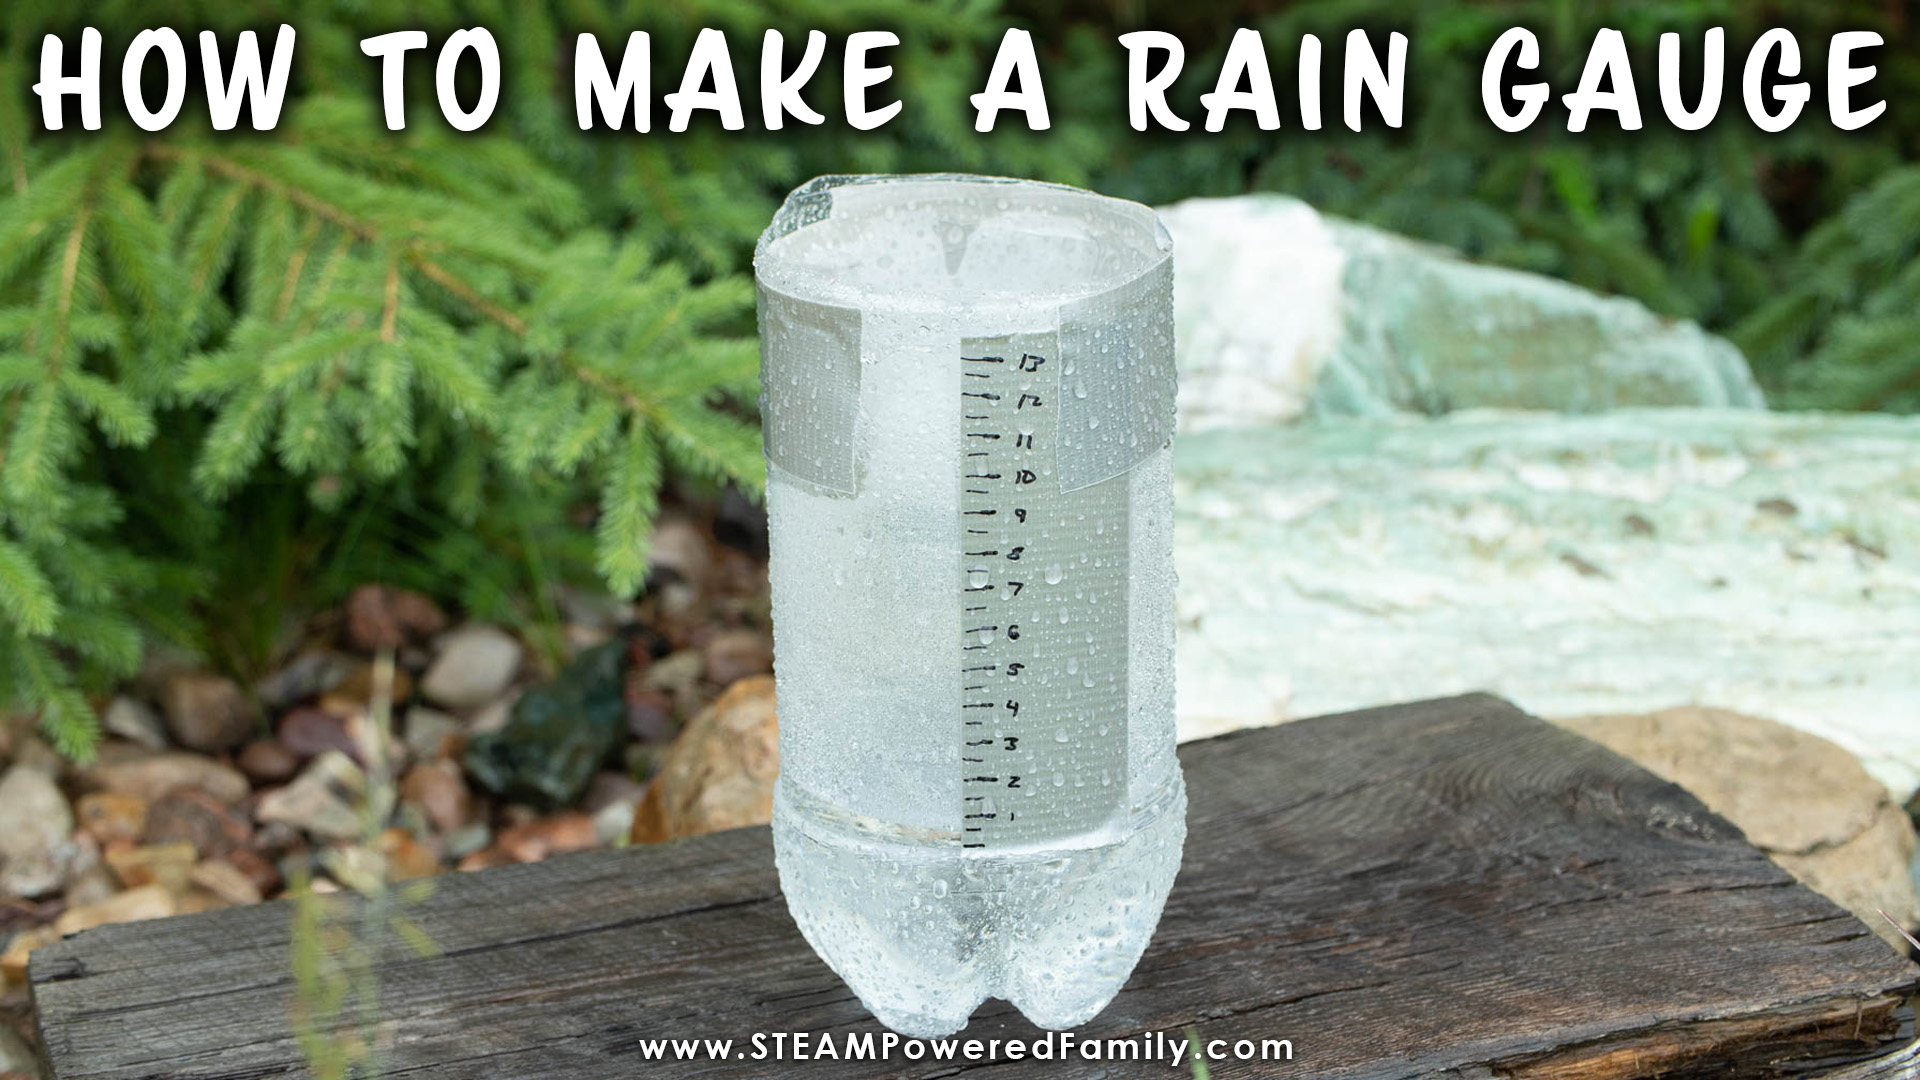
Here’s how to make a really simple rain gauge using recycled materials, for some rainy day fun
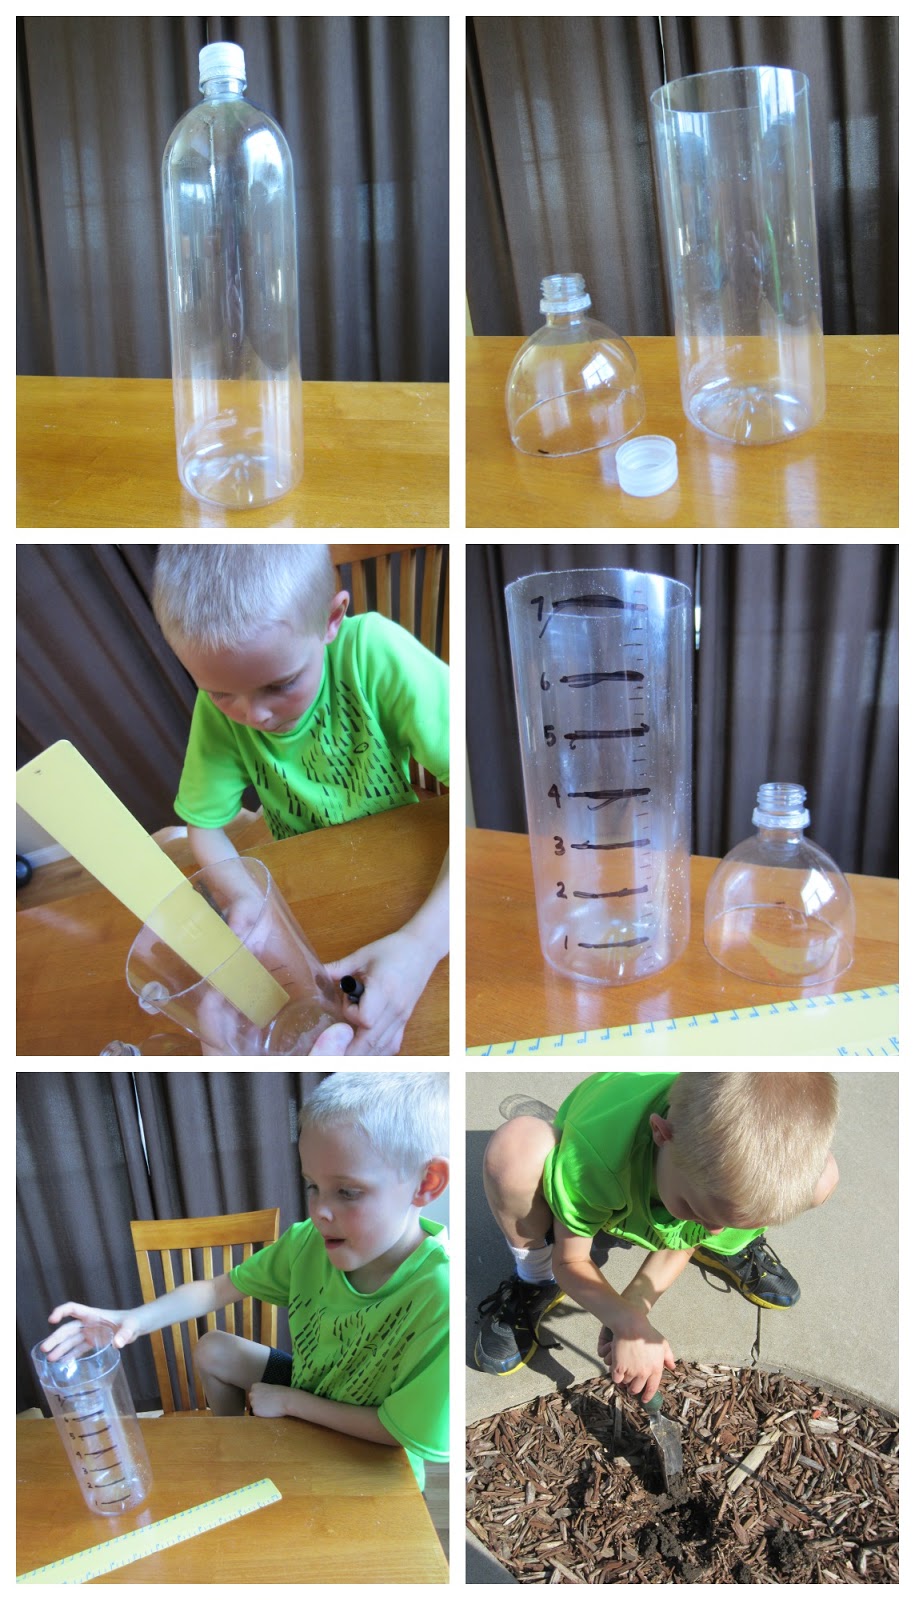
Method. 1. Cut off the top of this bottle about a quarter of the way down, below the neck of the bottle, where the diameter is constant. Cut smoothly. 2. Take the bottle top that you have cut off, turn it upside down and place it back in the bottom part of the bottle. It should fit snugly but to make sure it does not fall out use a few paper.

Make A Rain Gauge You South Africa Scribd
Full Playlist: https://www.youtube.com/playlist?list=PLLALQuK1NDrhmmfheHCLy-OkztpzrXuNt--Watch more How to Do Fun Tech & Science Projects videos: http://www..

Weather at Home DIY rain gauge FOX31 Denver
STEP 1: Cut the top off of a plastic water bottle. STEP 2: Invert it and place it inside the other half. STEP 3: Now, use a ruler to measure inches and mark on the outside of the bottle. STEP 4: Optional: Get kids to decorate and personalize their rain gauge with colors, drawings, or weather-related themes.
How To Make A Rain Gauge Super Easy and Fun Weather Project
Use a ruler to mark measuring increments starting about 2" from the bottom. 2. Place several small rocks in the bottom (for weight), then fill the bottle with water to the 0 mark. This will calibrate your gauge. 3. Invert the top of the bottle into to rain gauge to act as a funnel. Place gauge on a flat surface outside.

How to make a rain gauge backyard science experiment NurtureStore Rain gauge, Science
How to Make a Raing Gauge. Step 1: Clean your bottle and remove the label. Using scissors or a box cutter, cut the top off a half inch below where the tapering ends (see image below). Step 2: Take the top of the bottle and turn it over like a funnel. Stick it into the bottle and fasten it in place with the paper clips.
Geography of Climate and Weather Rain Gauge
Join the Texas Water Development Board's Field Meteorologist Lauren Bos as she demonstrates how to build a rain gauge with just a few simple household items..
Relentlessly Fun, Deceptively Educational Catching and Plotting Rainfall
Instructions. Cut 1 ½" piece of putty. Roll it around and mix it for about2 minutes until it is a uniform color of gray. Place the putty inside the jar and push it against one side of thejar, and lightly press down to attach the putty to the bottom of the jar. Place the ruler into the putty.

kansas rain gauge fun science experiments how to make a rain gauge Jaidyn Doyle
This experiment involves creating your own rain gauge, an instrument meteorologists use to measure rainfall. Follow along with meteorologist Kristina Pydynow.

Homemade Rain Gauge The Imagination Tree Rain gauge, Imagination tree, Rainy day fun
Spread the loveStep 1: Gather materials To build a rain gauge, you will need a plastic bottle, a ruler, scissors or a knife, masking tape, permanent marker, and a small funnel. Step 2: Choose a suitable bottle Select a plastic bottle that has straight sides so that you can measure the rainfall accurately. A 2-liter soda or water bottle is ideal for this purpose. Step 3: Cut the top off the.

How to Make a Rain Gauge The Homeschool Scientist
3. Invert the top of the bottle and place it over the bottle opening. Turn the top part of the bottle upside down so that when you put it over the bottle opening, the top is pointing downward. It will act as a funnel for the rain. 4. Tape the funnel to the bottle. Use tape to secure the top of the bottle to the bottle.

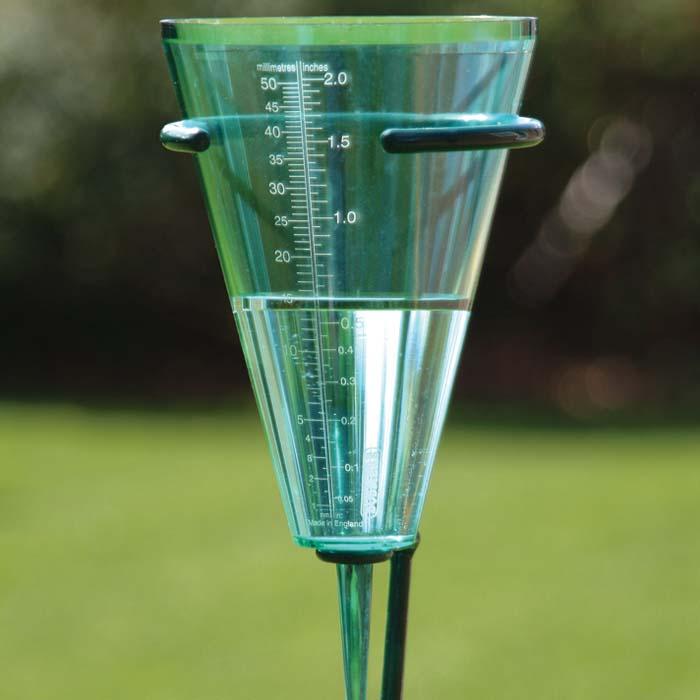
Decorative Rain Gauge Iron Accents
Sarah Grintzevitch explains how to make your own rain gauge using objects from around the house.To try out this experiment yourself, check out the Royal Mete.

Diy Rain Gauge Instrument Modifications
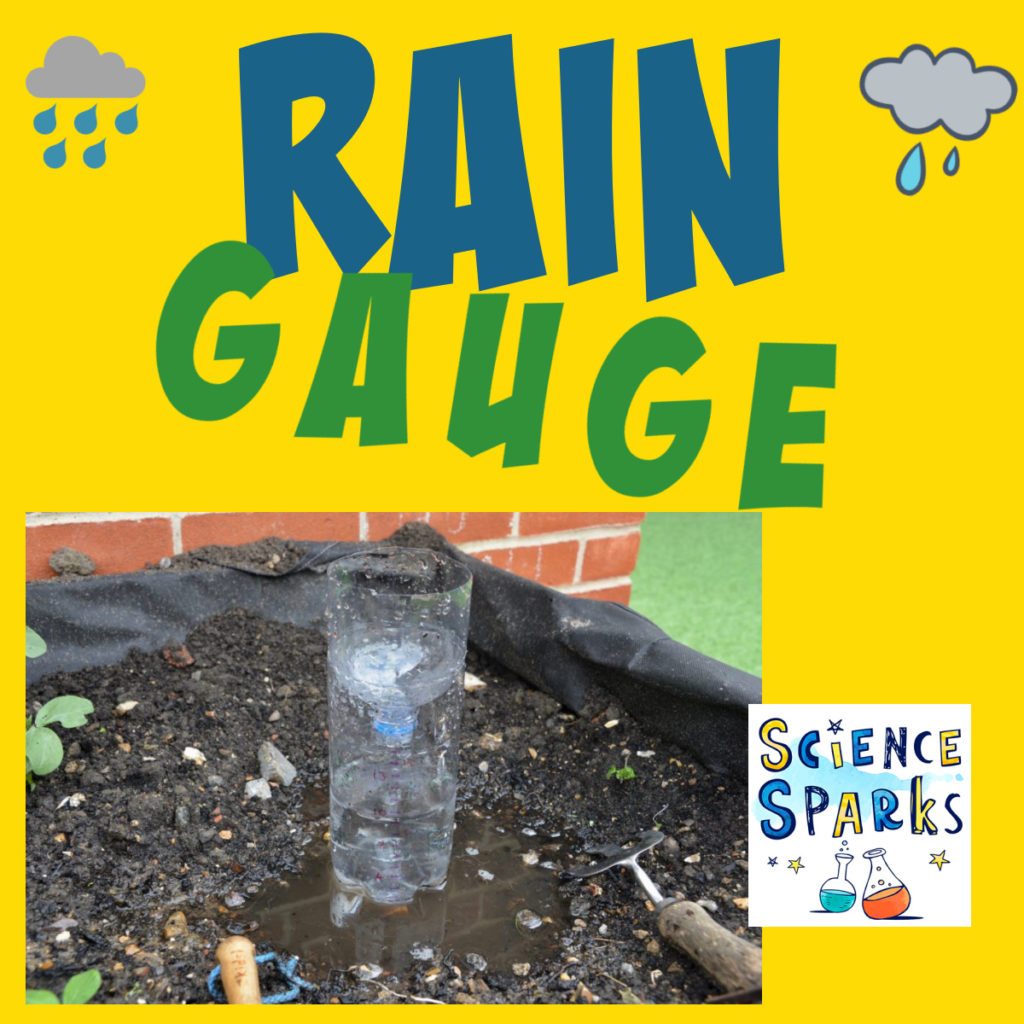
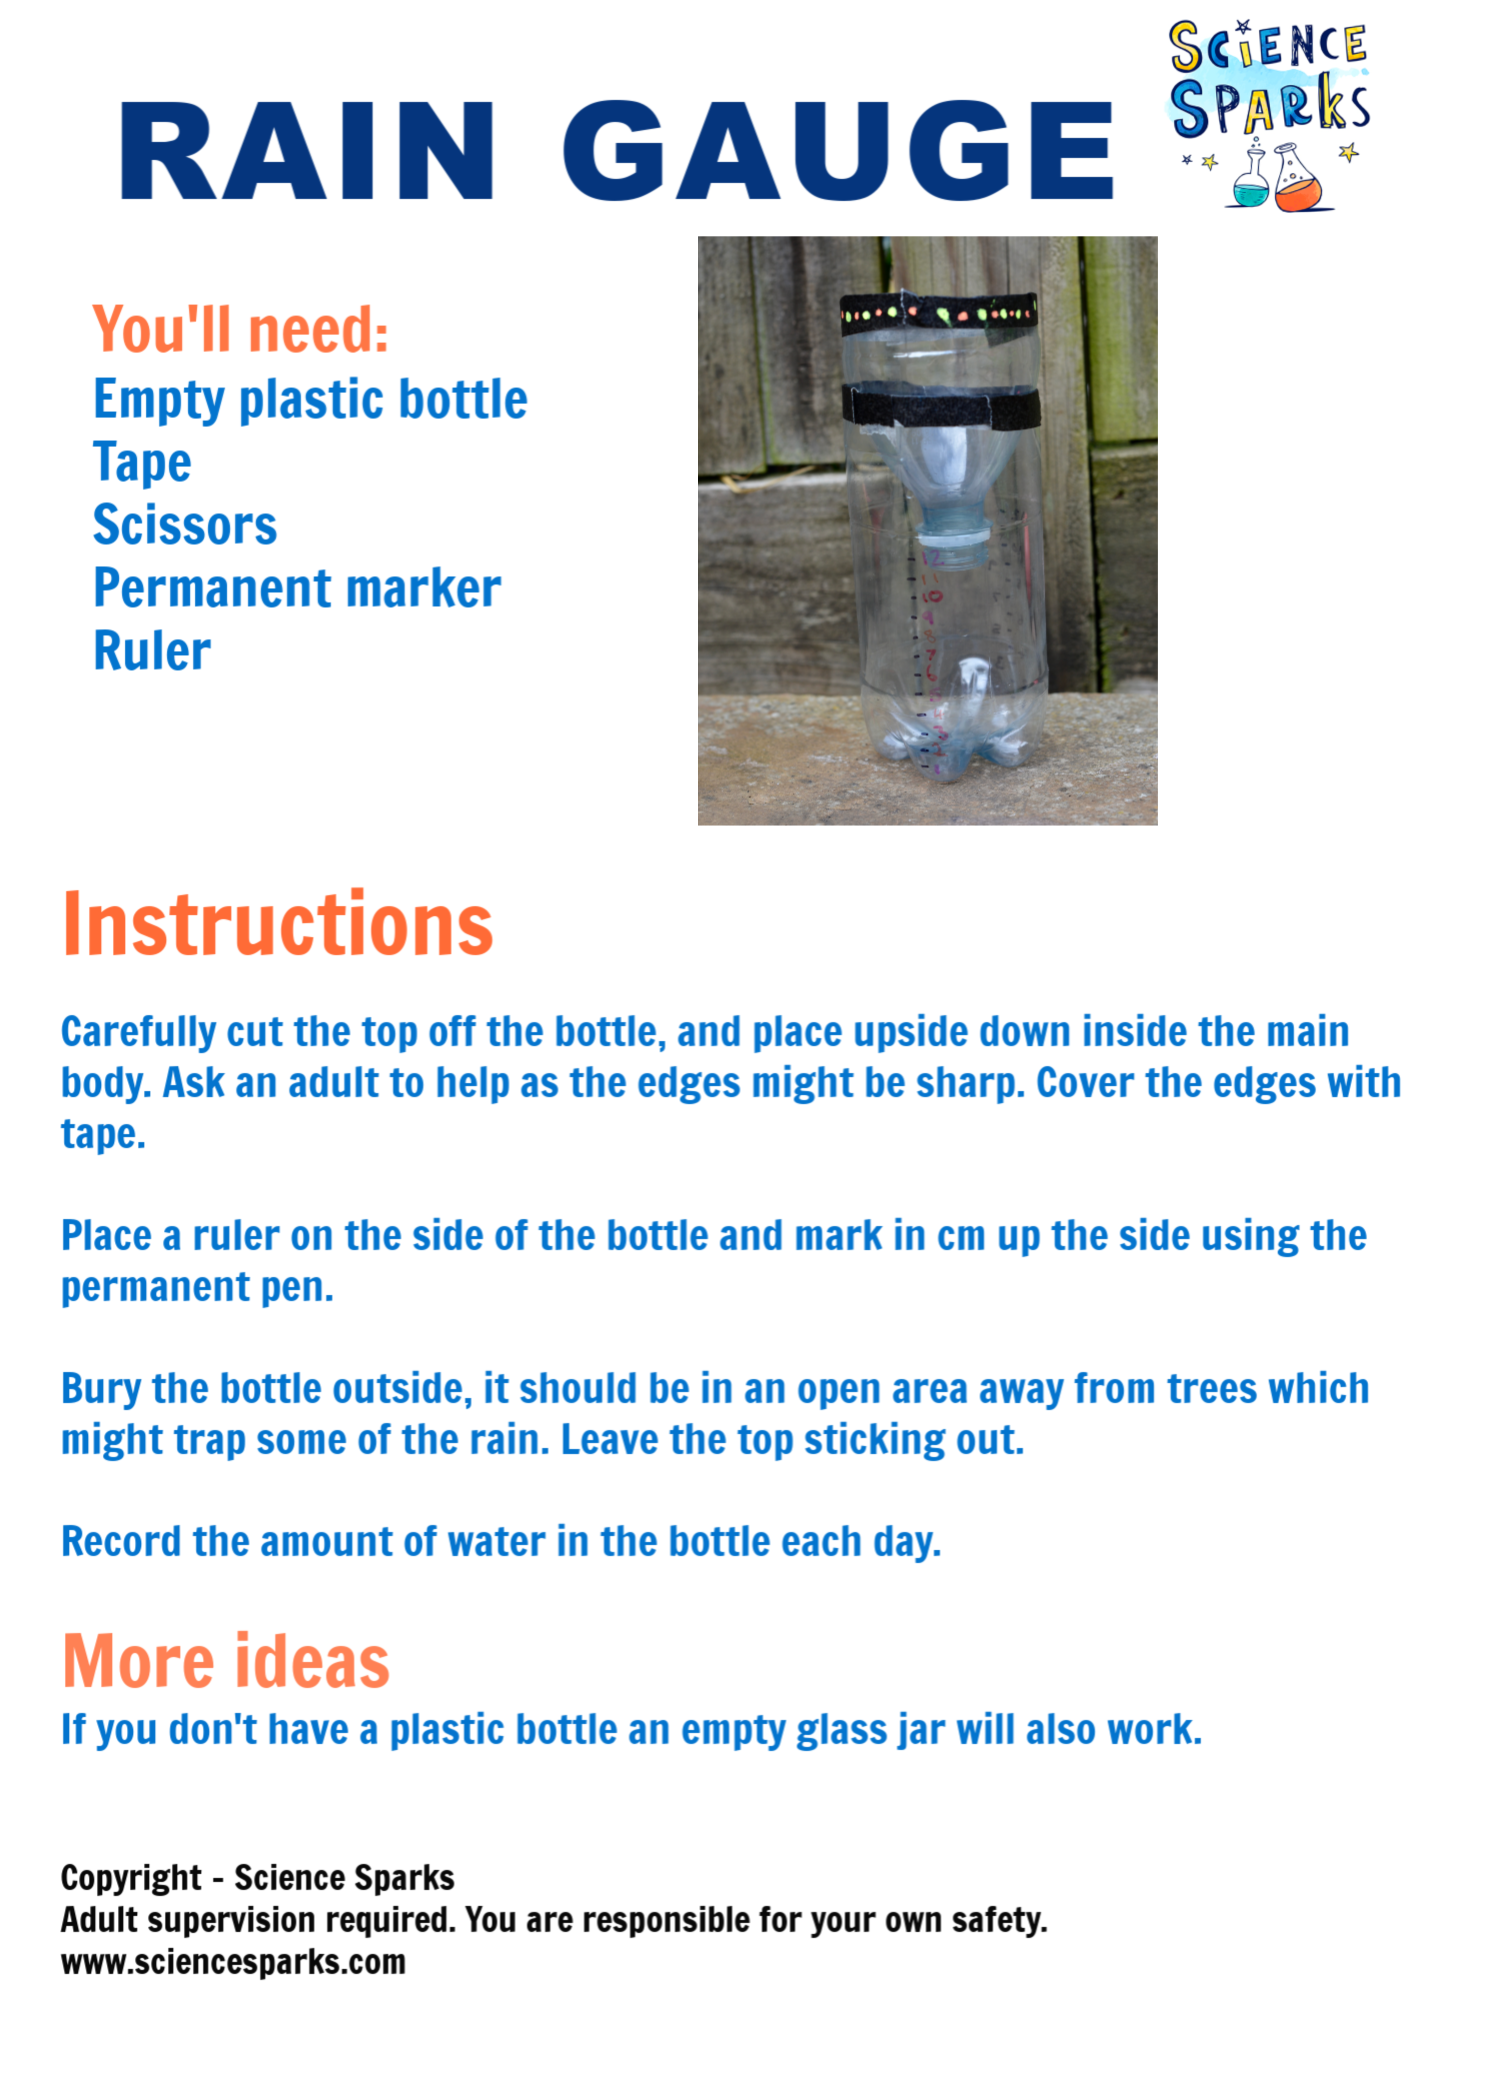
Plastic Bottle Rain Gauge. Cut the top off the bottle and place it upside down inside the main body. Get an adult to help, as the edges might be sharp. Place a ruler on the side of the bottle and mark in cm up the side. Bury the bottle outside. It should be in an open area and away from any trees which might trap some of the rain.

Build your own rain gauge practice engineering skills, data collection, and question format
All you need to do is: Parents Only: Cut the top off of a water bottle. I'd say a few inches from the top of the bottle is good. Save both the top of the bottle and the bottom part - You'll need both! Flip the cut-off top piece upside down and place it inside the bottle (this will help funnel the rain).
Weather Science How to Make a Rain Gauge
Make a scale in centimetres on a piece of tape, using a ruler, and fix it to the side of your bottle. Find a place outside to put your rain gauge. It must be open and away from trees. Dig a hole and bury your rain gauge so that the top is sticking out of the ground. This will stop the rain gauge from blowing down on windy days.
Weather Science How to Make a Rain Gauge
Study the weather by learning how to make a Rain Gauge with our easy step by step guide and video tutorial. Then start measuring rainfall! A great project fo.
Determination of Average Rainfall over a Catchment Construction How
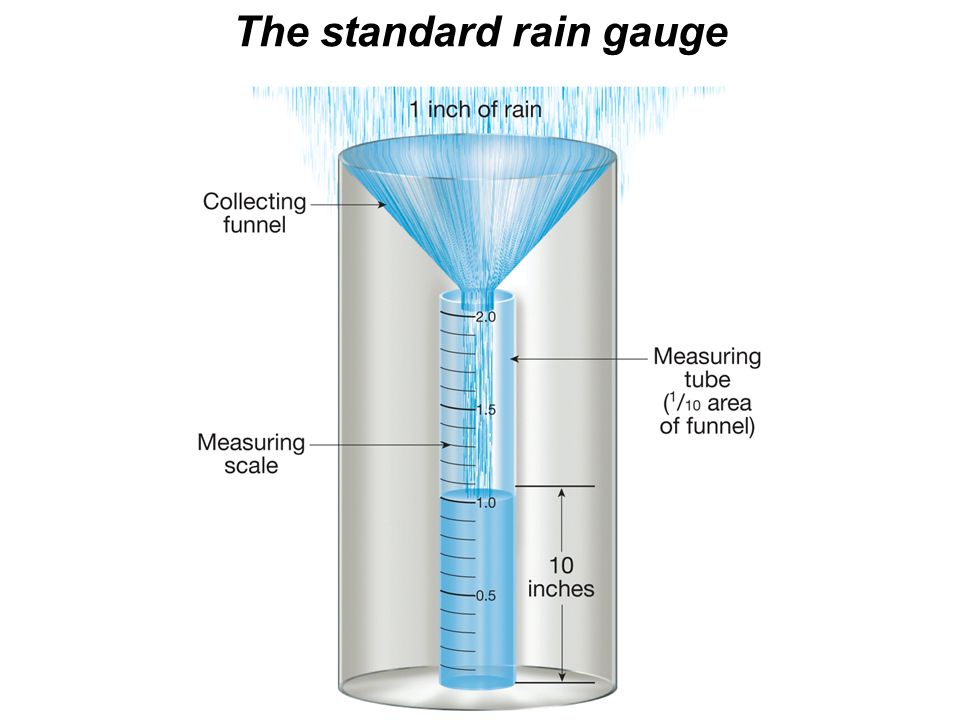
Step 3: Trap. We must remember to convert the units properly, or else we will get very absurd results. Volume is measured in millilitres and rainfall is given in millimetres. 1 millilitre (or 1 ml) = 1 cm 3 = 1* cm * cm * cm, this is to be divided by (r cm) 2 = r * r * cm* cm.